diy robot arm arduino
Afterwards remove the stickers. The other servos control the nozzle of the robotic arm.

Diy Arduino Bluetooth Controlled Robotic Arm Project With Circuit Diagram Output Arduino Bluetooth Arduino Arduino Projects
Robot Arm Full Assembly and Wiring.

. The Robotic Arm code makes use of the HCPCA9685 Library for the Servo Driver. Creality CR-10 3D Printer from Banggood. Robot Arm Full Assembly and Wiring.
Robotic arm project with Arduino DYI - Robotic arm with Servo motors Automation is one of the leading development fields mainly because it advances the industry further than ever before providing the potential of almost fully automated production lines. Hello Guys and Gals Welcome to another project by me this time we will focus on creating a cheap and simple robotic arm that is controlled by an arduino and 3 potentiometers. Robotic arm playing tic tac toe controlled by Arduino.
DIY Arduino and Bluetooth Controlled Programmable Robotic Arm is a simple project where an Arduino based 3D-Printed Robotic Arm is designed to be controlled. This fun mechanical arm consists of 4 axes each controlled by a servo. After more than a year of studies prototypes and various failures I managed to build an iron aluminum robot with 6 degrees of freedom controlled by stepper motorsThe most difficult part was the design because I wanted to achieve 3 fundamental ob.
The DynamixShield is a new add-on for either the Arduino Due Ze. Ad Free Shipping Available. Ad Buy Dev Boards Programmers Educational Kits and More from Arduino at Digi-Key.
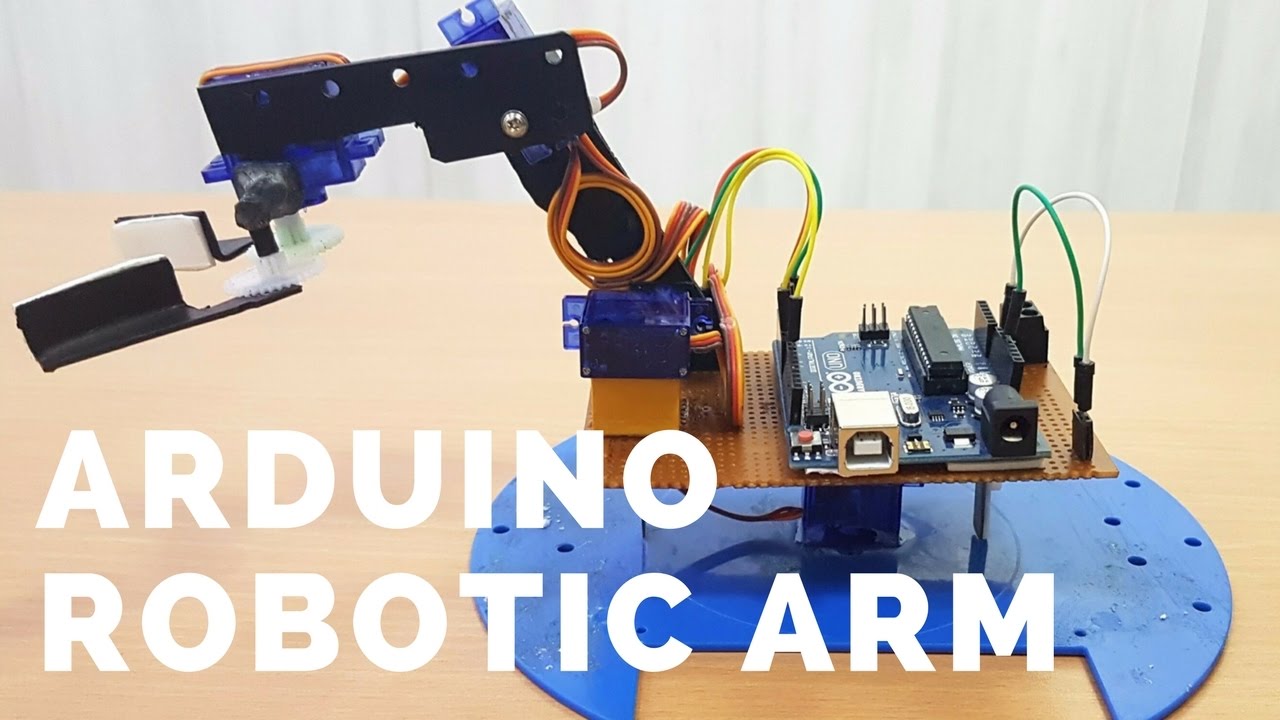
Secondly take the robotic arm kit and remove the parts one by one. Lets start assembling them and make a circuit to build a remote-controlled robotic armAttach the Arduino Nano board on the breadboard. Uses micro servo for movements.
The Rollarm Kit is an interesting and useful learning tool for Arduino and robot hobbyists. This way we can power multiple servo motors all controlled by an Arduino. DIY Robot Arm 6 Axis with Stepper Motors.
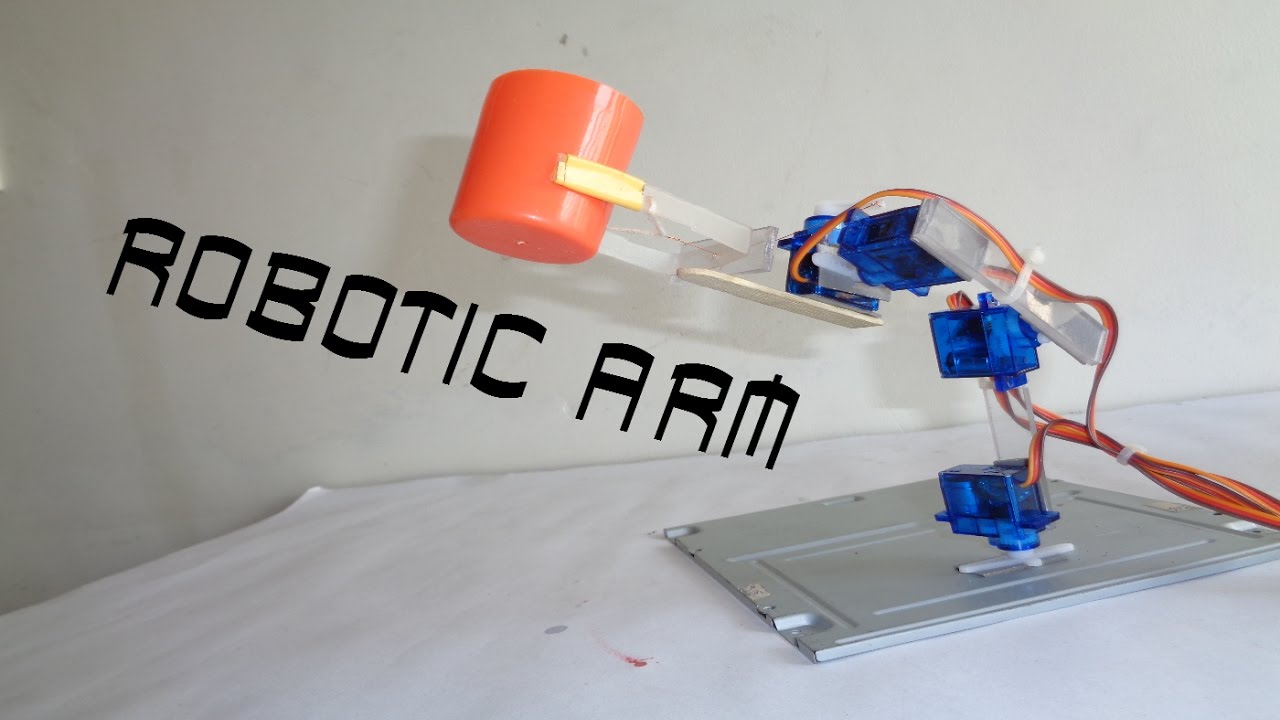
After connect the robot arm based part. This robotic arm is composed of 4 servos. In the code we can start by adding this.
The Arduino will be powered through the positive and negative wire of the adapter. In this instructable I will show you how to quickly and easily build a 5-axis robot arm using commercial off-the-shelf components and control it using an Arduino with a DynamixShield. This setup also looks as a Robotic Crane or we can convert it into a Crane by doing some easy tweaks.
Select the type Arduino Genuino Micro and the correct communication port. Setup PWM outputs Setup analog inputs Read each pot individually Convert analog readings to angles 0 180 Write the angle values to the servo motors. You can find the code and the full instructions on my site.
Build a 5-Axis Robot Arm With Arduino and DynamixShield. HttpssmartbuildsioSupport me making more projects like this on Patreon. Technical and Customer Support Available 247.
The software behind the arm is very trivial and involves the following steps. It is better to make DIY Arduino Robotic Arm since Industrial robotic arms are very expensive because of complex sensors and high accurate motors in this project we will make budget friendly robot arm. This way we can power multiple servo motors all controlled by an Arduino.
Features of Arduino Robot Arm. Remember that the number of baud for this project is 115200. The Robotic Arm code makes use of the HCPCA9685 Library for the Servo Driver.
DIY Arduino Robot Arm Controlled by Hand Gestures. Open the DIY_ROBOTICSEDUCATIVECELL_Arduino_V1_0ino file included in the DIY_ROBOTICS_EDUCATIVECELL_V1_0zip compressed folder. Project tutorial by Eben Kouao.
Thirdly connect the first servo motor as follows. This simple device only requires 5 volts of power to be able to operate. It is about a robotic arm of 3dof 1 controlled by arduino and visual basic that plays tic tac toe game against a human player.
Connect the Arduino Micro to your computer with the USB cable. Expect to be really patient while making this because all the components have to move in. Entire process of construction has been explained in detail below.
Now as we know about the working of all the main components used. The first servo makes an horizontal sweep. Here in this project Arduino Uno is programmed to control servo motors which are serving as joints of Robotic arm.
Robot arm kit. PWM servo motor driver. He can be control with four potentiometer.
Use four screws to do this. This project will be helpful for beginners who want to learn to develop a. You can also see the angular position of the servos on the serial monitor of Arduino IDE.
The build time is about an hour or so. Find the Parts You Need Today. With the acrylic design and code based on Arduino it enables users to learn programming from easy to difficult control the mechanical arm freely and perform various fun operations.
In the code we can start by adding this.

Robot Arm Arduino Projects Arduino Projects Arduino Arduino Robot Arm
How To Make Micro Servo Robotic Arm Arduino Based Simple Diy Robot Arm Arduino Easy Diy

Diy Arduino Bluetooth Controlled Robotic Arm Project With Circuit Diagram Output Arduino Arduino Bluetooth Robot Arm

Diy Arduino Robot Arm With Smartphone Control Howtomechatronics Arduino Robot Arduino Robot Arm Robot Arm
In This Tutorial We Will Learn How To Make An Arduino Robot Arm Which Can Be Wirelessly Controlled And Programmed Using Arduino Robot Arduino Robot Arm Arduino
Pin On Arduino

Robot Arm You Can Build At Home Robot Arm Arduino Robot Arduino

How To Make Arduino Robot Arm By Pcbway Arduino Robot Robot Arm Arduino

Robot Arm You Can Build At Home Robot Arm Robotic Arm Diy Arduino Robot